
Golf simulators aren’t just for tour pros or dedicated golf rooms anymore. More golfers are building setups in garages, basements and spare rooms because they want to practice, play year-round and understand their games better.
The problem is that buying a simulator can get complicated fast.
Between launch monitors, enclosures, mats, software and space requirements, it’s easy to overspend, buy the wrong piece first or end up with a setup that doesn’t actually fit how you practice.
This guide is designed to make the process simpler. Instead of telling you exactly what to buy, it breaks a simulator into its core components, explains what each one does and outlines what to look for before you spend your money.
Step 1: The launch monitor (Everything starts here)
If you only remember one thing from this guide, make it this: your launch monitor decision should come first.
The launch monitor dictates nearly every other part of your simulator setup, including how much space you need, what software you can run and how immersive the experience will feel. Choose it thoughtfully and the rest of the build falls into place. Choose it last and you may end up rebuilding your setup down the road.
What to look for in a launch monitor
Rather than focusing on brand names or price tags, start with these questions.
- How will you use it most? Some golfers want basic ball flight and distance feedback. Others want detailed club and ball data or a full simulator experience with courses and practice modes.
- Indoor reliability matters: Not all launch monitors perform equally indoors. Take a look at our 2025 Launch Monitor Testing for more details on reliability and accuracy.
- Space requirements: Ceiling height, room depth and width all matter. Minimum requirements are typically:
- Ceiling height: About nine feet for most golfers. Taller golfers or frequent driver use are more comfortable closer to 10 feet.
- Room depth: Roughly 12 to 15 feet from ball to screen or net.
- Room width: Around 10 feet to allow a free, comfortable swing.
- Data versus simplicity: More data isn’t always better. If the numbers won’t change how you practice, they may just add noise and likely expense to your initial purchase.
How to choose a launch monitor
While the best technology out there can be important, when you choose a launch monitor, focus more on these three questions.
- Does this fit my space comfortably?
- Will I actually use the data it provides?
- Does this support how I want to practice and play? (Indoor, outdoor, etc.)
If you can answer those questions clearly, you’re on the right track. The goal isn’t to buy the most expensive unit. It’s to choose one that makes practicing easier and more productive.
Rapsodo MLM2PRO

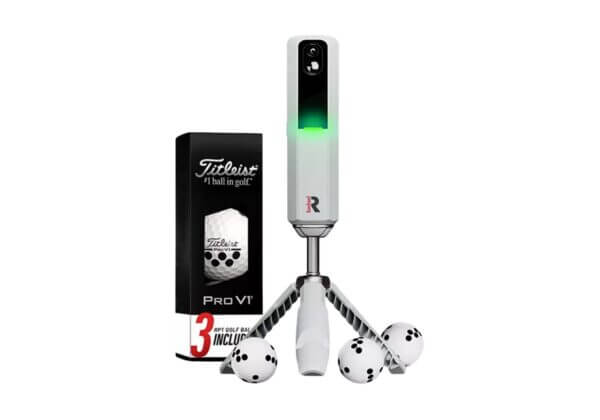
A lower-cost option for golfers who want a simple way to add feedback and light simulator play.
- Focuses on core ball data and visual feedback
- Portable and easy to set up indoors or outdoors
- Best suited for limited space and casual simulator use
Bushnell Launch Pro
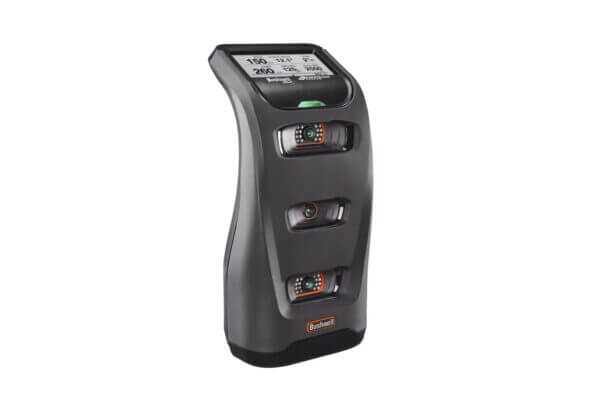
A step up in data quality and indoor consistency for golfers who want more reliable feedback.
- Optical tracking improves indoor accuracy
- Offers more meaningful data for skill development
- Works well for both practice and simulator play
Garmin Approach R50
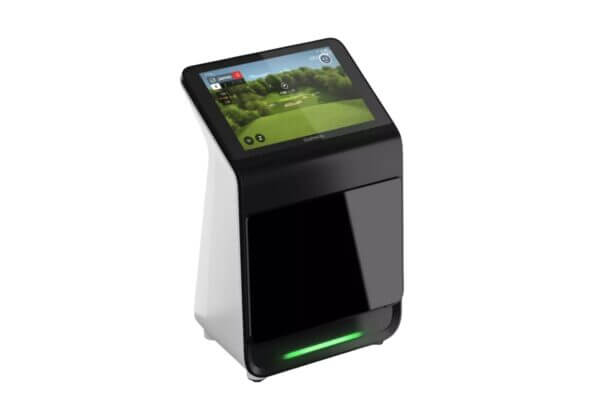
A more complete simulator-focused solution with built-in display and expanded features.
- Designed to function as a standalone simulator hub
- Offers a more immersive experience
- Best suited for simulator spaces
Step 2: What you’re hitting into (Enclosure, screen or net)
After picking a launch monitor and checking your space, the next big decision is how you’ll stop the ball. The net or enclosure you choose impacts your simulator’s look, feel and noise level, and whether you can use a projector or have to rely on a laptop or tablet screen for visuals.
What to look for in a golf net or enclosure
- Durability and safety: Screens and enclosures are hit thousands of times. Look for materials and framing that handle high-speed shots without tearing or dangerous rebounds.
- Rebound control: Some setups will send the ball (or pieces of it) back at you if they’re not designed for real golf balls indoors.
- Compatibility with projection: If you want a projector experience, you’ll need a proper impact screen.
Most basic nets are best for practice and tech feedback displayed on a device while impact screens and full enclosures let you feel like you’re playing on a course with projected visuals.
The Net Return Home Series V2 Golf Net

A simple golf net that catches and returns balls so you can practice indoors without a full screen.
- Lightweight and quick to set up
- Great for practice swings and feedback displays on a laptop or tablet
- No built-in projection surface; must buy separately
Rain or Shine SwingBay Golf Simulator Screen

A larger impact screen with a sturdy enclosure that creates a dedicated simulator “bay.”
- Impact screen designed to take repeated real shots safely
- Helps control rebound indoors
- More immersive than a basic net, better for simulator play.
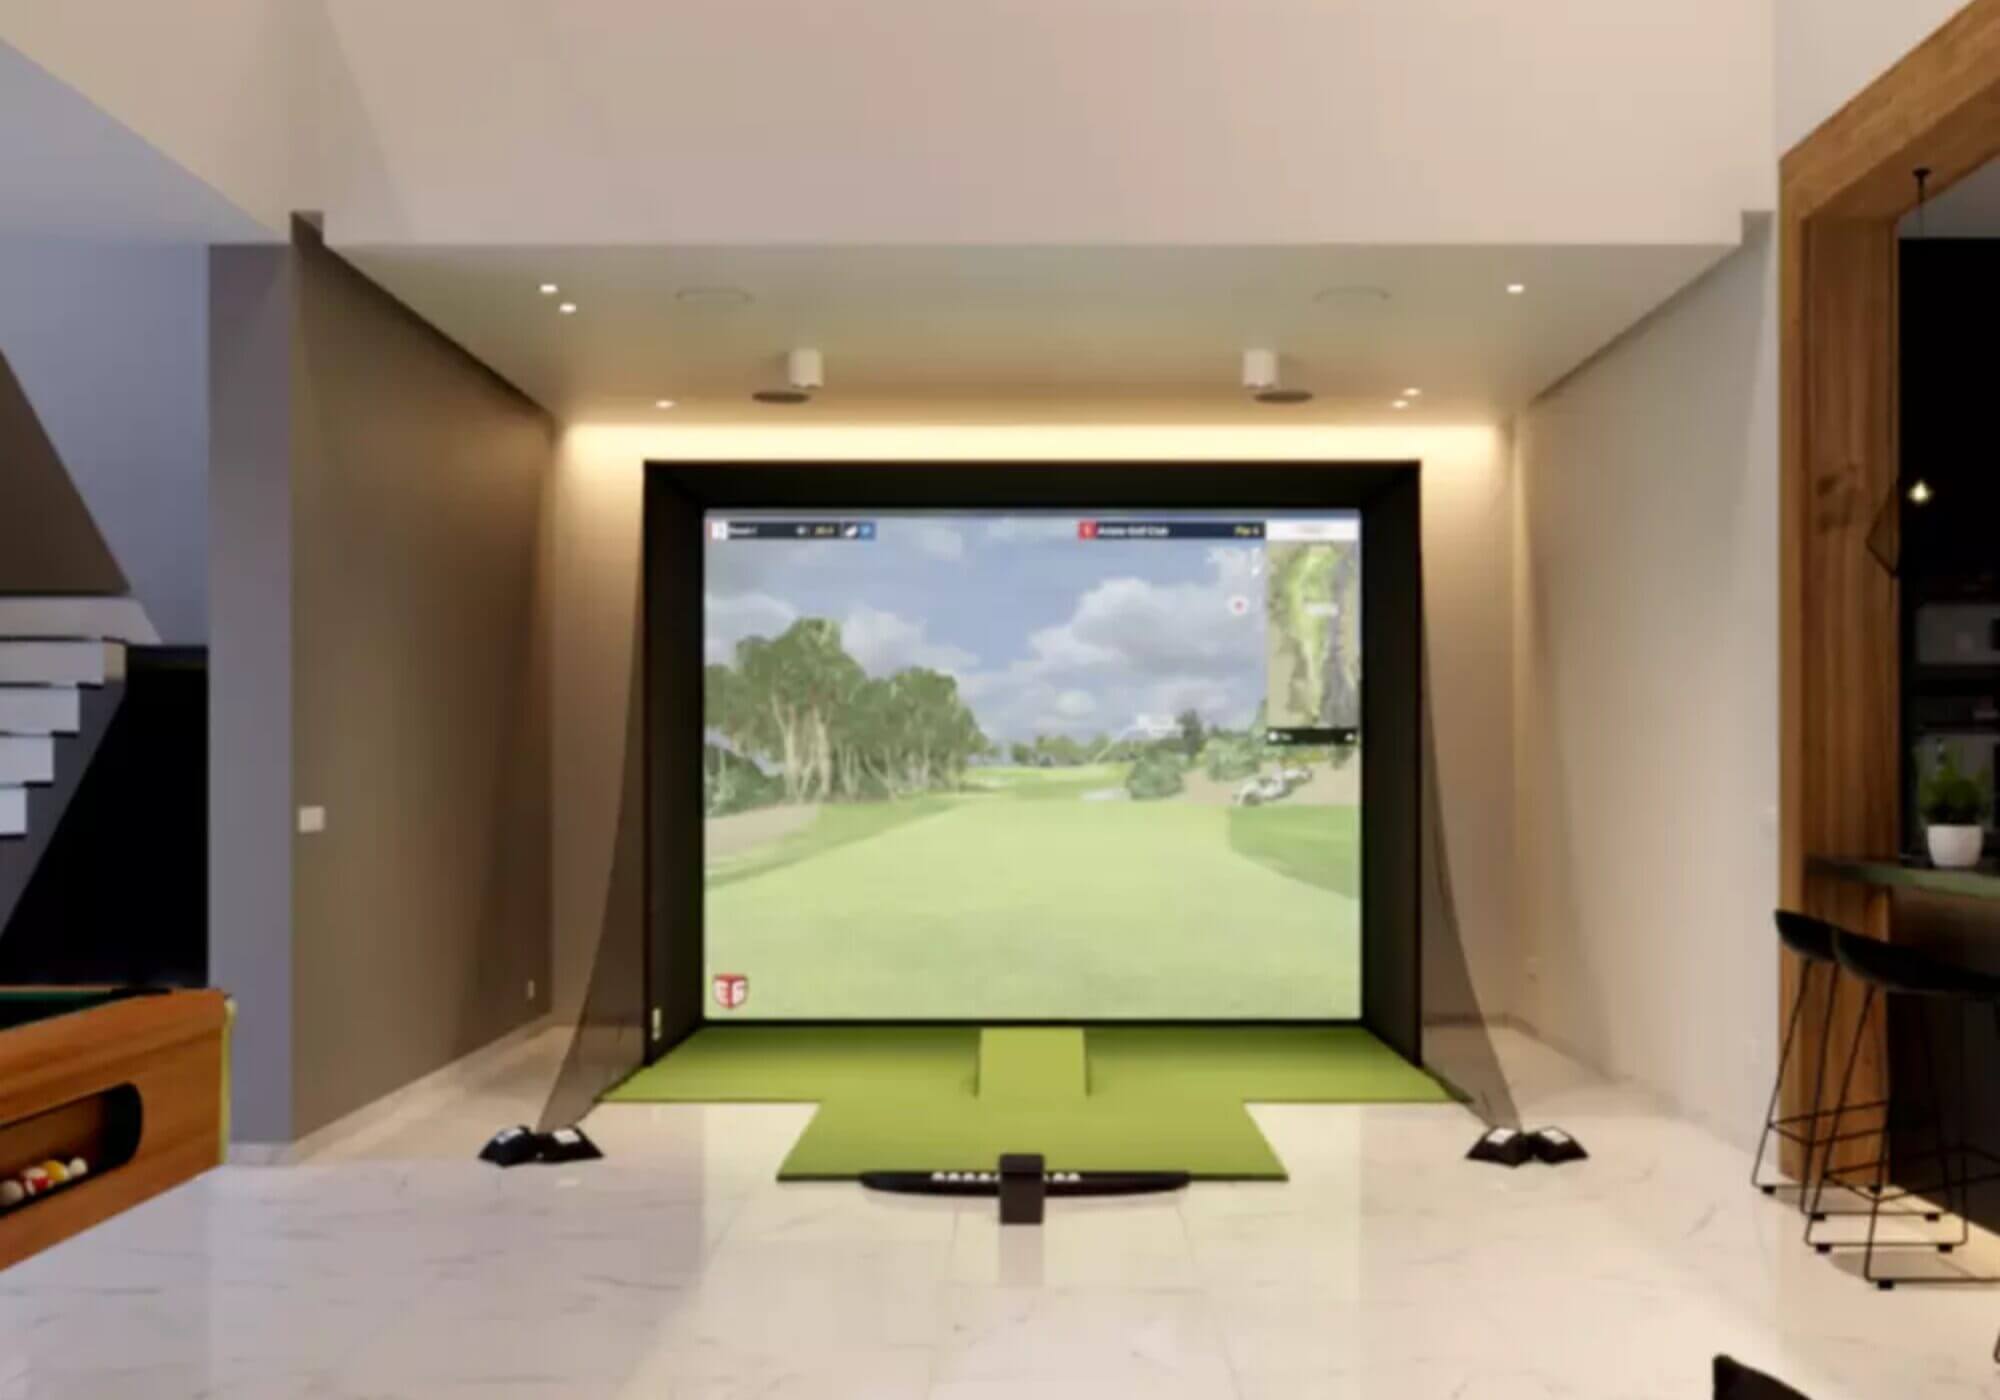
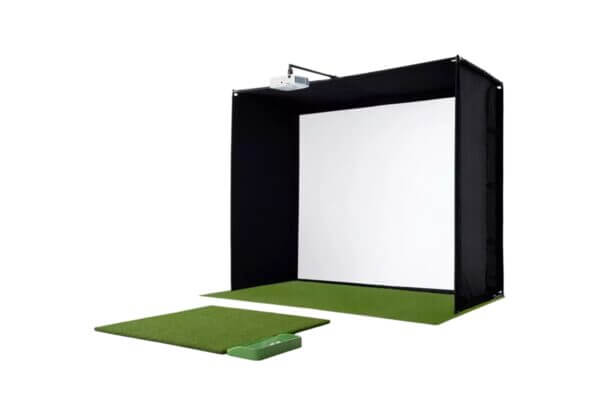
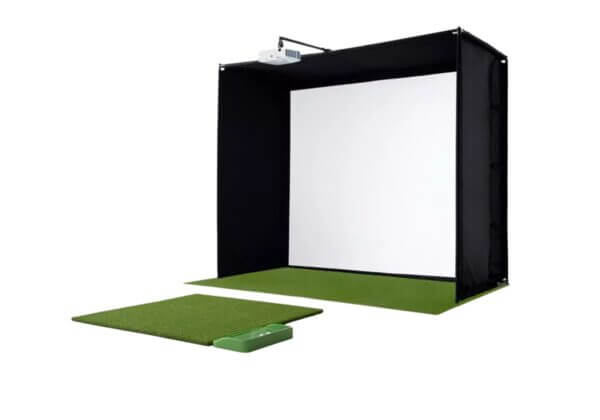
SkyTrack Golf Simulator Studio Bundle – Ultimate
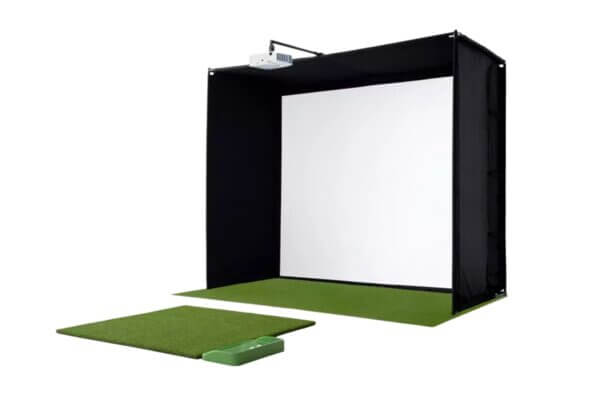
A premium enclosure with an impact screen, mat and projector included.
- Durable impact screen and framing that reduces rebound and noise
- Designed for a projector visual experience
- Works well as the backbone of a simulator space
Step 3: Hitting mats
Once you’ve picked a launch monitor and decided how you’re going to stop the ball, the next key piece is the hitting mat. The most important part of a good mat is protecting you from injury. However, reliable feedback is also something you should be considering.
What to look for in a hitting mat
- Feel and responsiveness: Cheap mats can feel dead or inconsistent.
- Shock absorption: Mats that are too hard can lead to joint discomfort over time.
- Durability: You want a surface that holds up to repeated shots without tearing or flattening.
- Replaceable hitting areas: Being able to refresh the center strip extends the life of your setup.
Rain or Shine SwingTurf Hitting Strip (1’ x 4’)
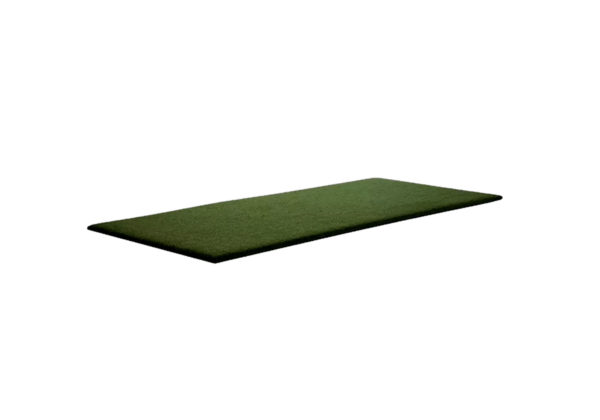
A simple, narrow hitting surface that gives you a place to stand and strike without a full mat.
- Compact size for tight spaces
- Allows for basic practice and impact feel
- Best paired with a larger base or platform if you want more stability
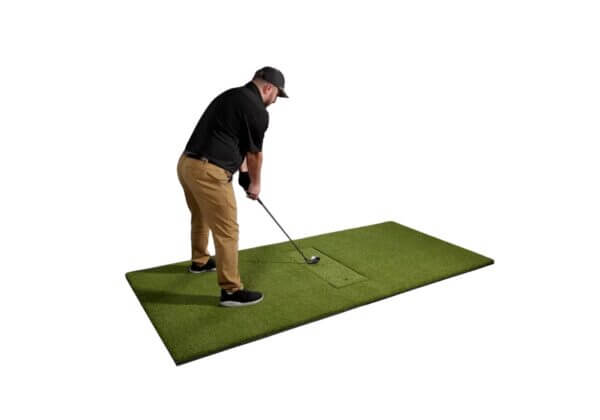
SkyTrax 5×5 Hitting Mat

A larger, basic hitting mat that gives you more space to set up and practice full swings.
- Bigger footprint for a more natural stance width
- Better feedback than a small strip for irons and mid shots
- Still affordable and easy to integrate
Carl’s HotShot Golf Simulator Hitting
A hitting mat with an insert that gives a closer feel to hitting off real turf.
- Built-in insert for more natural interaction with the club
- Multiple size options to fit different spaces
- Designed for long-term use
Step 4: Projectors
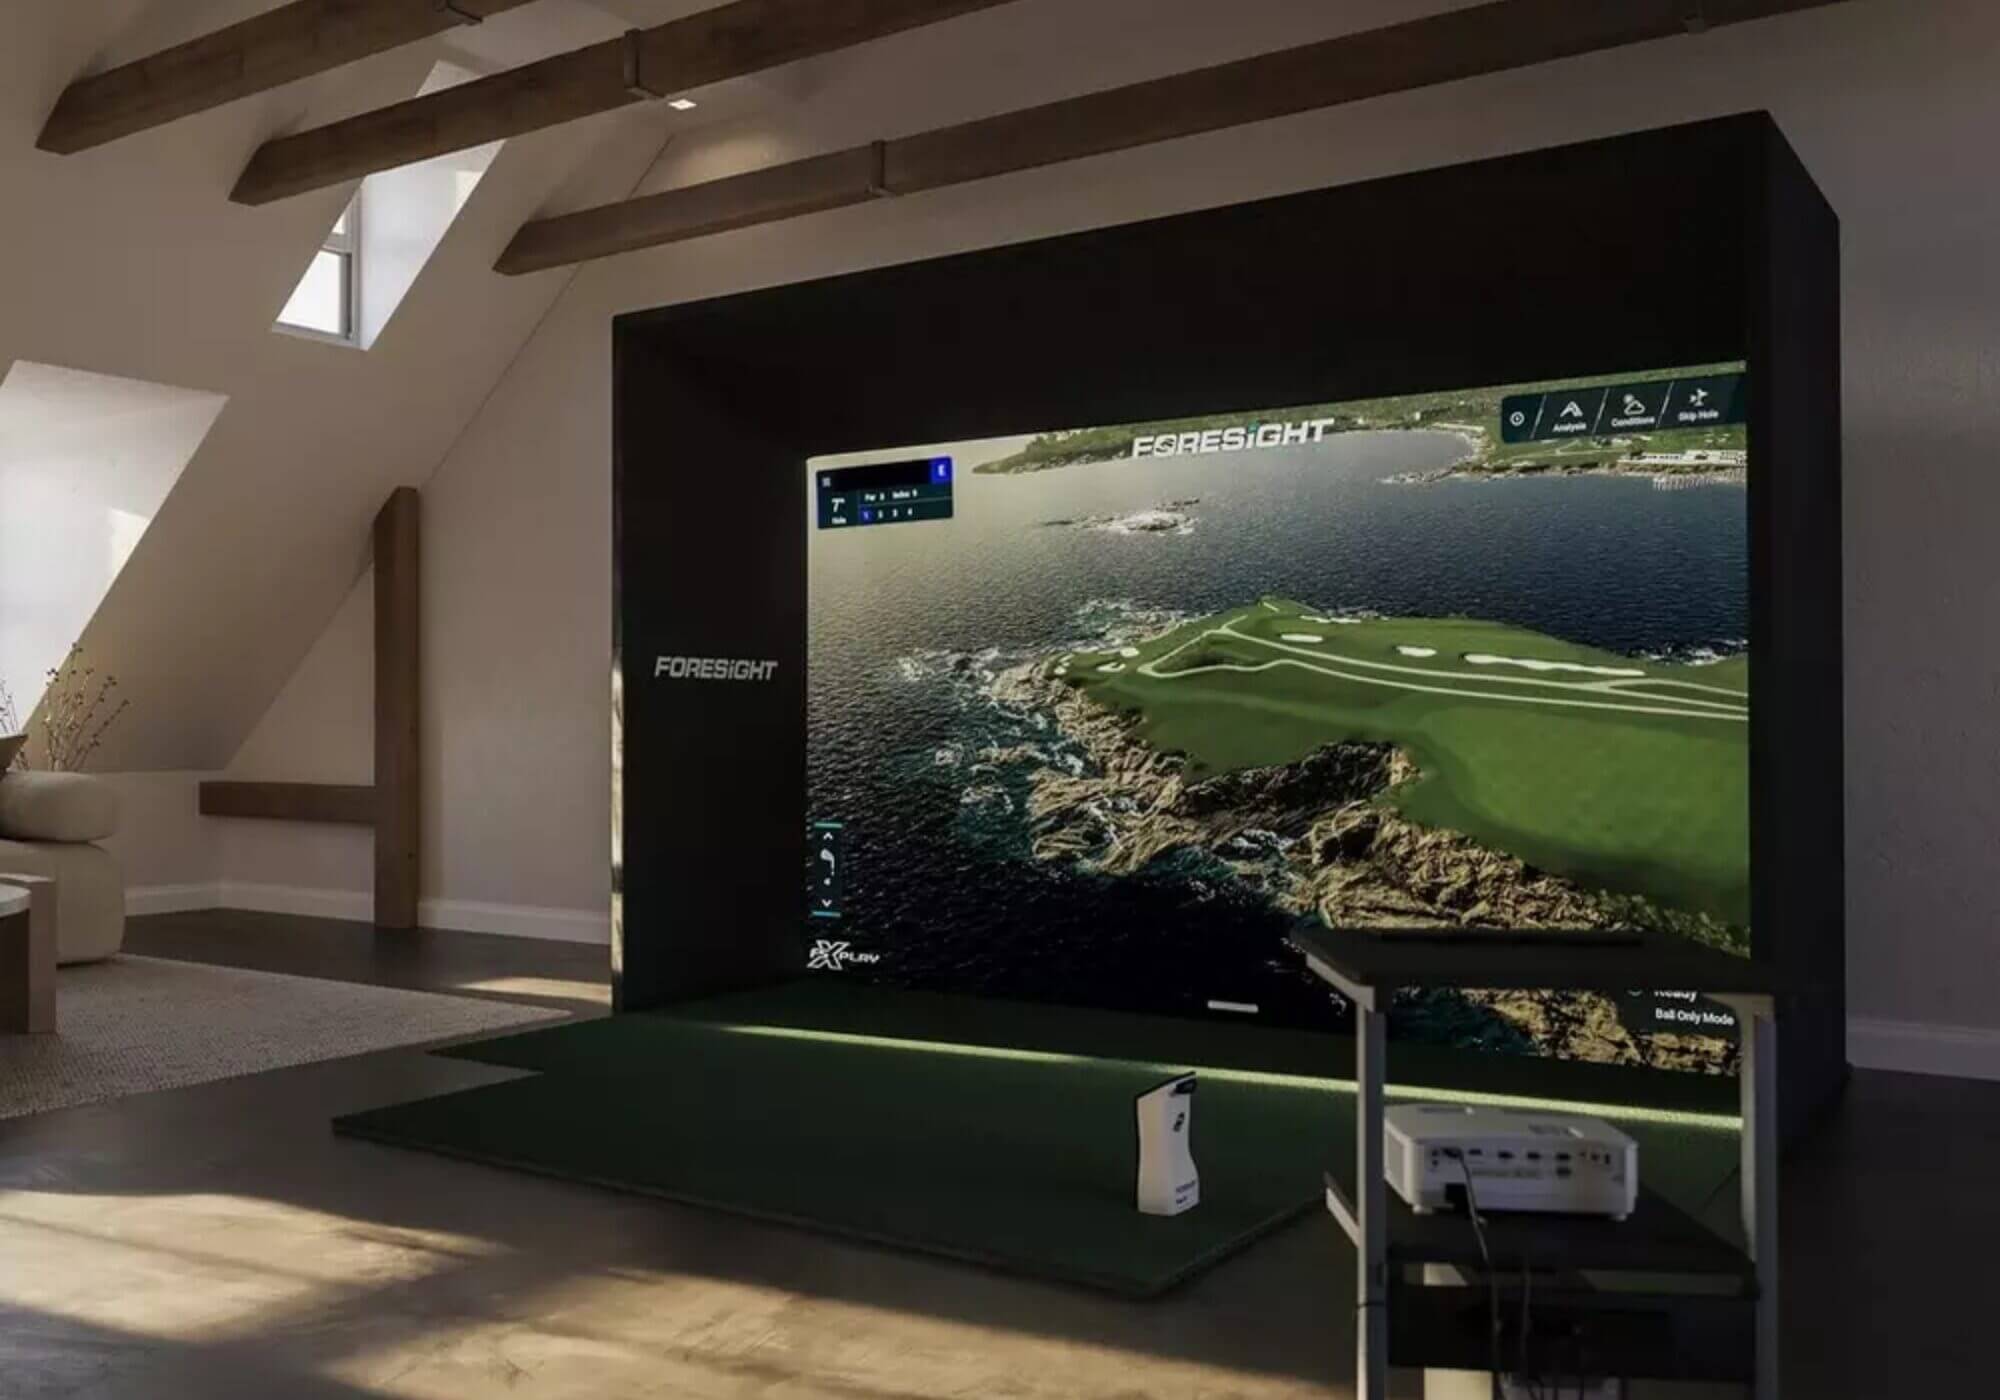
Projectors are what turn a practice setup into a true simulator experience. Seeing courses, driving ranges and shot shapes projected onto an impact screen makes your simulator feel complete.
However, a projector isn’t required for every build. Many golfers start by running simulator software on a laptop, tablet or TV. A projector becomes more important when immersion and screen size matter to you.
What to look for in a projector
- Brightness: Measured in lumens. Brighter projectors perform better in garages or rooms with ambient light and on larger screens.
- Short-throw design: Short-throw projectors can create a large image from a shorter distance which helps keep the unit out of the swing path and reduces shadows.
- Resolution: Higher resolution improves clarity, especially on bigger screens.
- Mounting flexibility: Make sure the projector can be positioned where your space allows, whether ceiling-mounted or placed behind the hitting area.
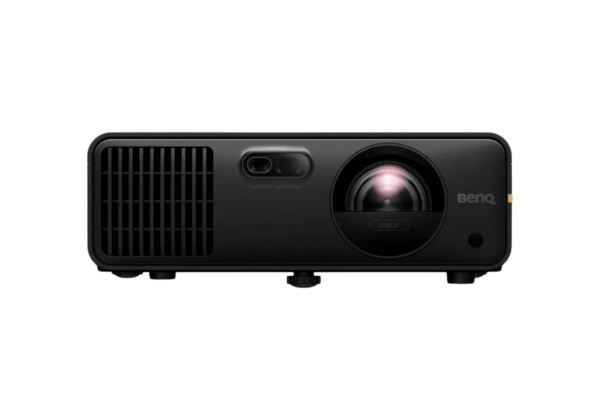
BenQ AH700ST Golf Simulator Projector
- Short-throw design for tighter spaces
- Solid brightness for typical indoor rooms
- Works well for basic simulator visuals
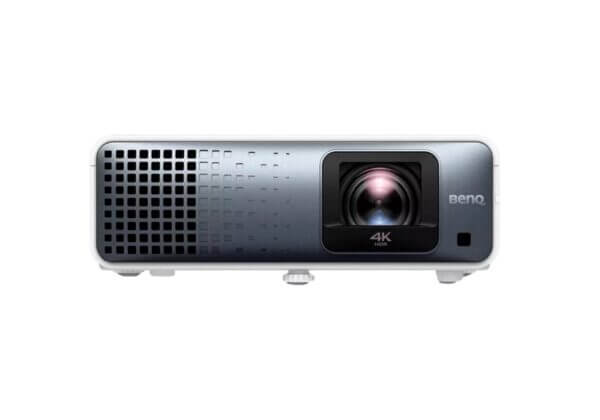
BenQ TK710STi 4K Golf Simulator Projector
- 4K resolution for sharper visuals on impact screens
- Short-throw placement flexibility
- Balanced brightness and image quality
BenQ LK936ST 4K Golf Simulator Projector

- Higher brightness for larger screens or brighter rooms
- 4K clarity for a more polished simulator experience
- Designed for dedicated simulator spaces
The easy route: Complete simulator bundles
Retailers like PGA TOUR Superstore now offer complete simulator bundles that combine the major components into a single package. Instead of researching launch monitors, screens, mats and accessories separately, these bundles are designed to work together right out of the box.
A simulator bundle is the fastest and least stressful way to get started.
What simulator bundles include
Most bundles include:
- A launch monitor
- An impact screen and enclosure or studio frame
- A hitting mat
- Mounting hardware and accessories
Some bundles also include a projector while others assume you’ll add one separately.
When you compare simulator bundle prices, most of the difference is usually tied to the launch monitor, not the enclosure or mat.
Garmin Approach R10 + Simulator Studio Bundle
- Portable launch monitor paired with a complete studio setup
- Includes enclosure and mat so you don’t have to source them separately
- Designed for golfers who want an affordable, all-in-one starting point
Full Swing Kit Launch Monitor + Simulator Studio
- Uses a different style of launch monitor with a stronger emphasis on simulator play
- Designed to feel more like a dedicated simulator setup
- Includes a full studio enclosure and mat for a more permanent installation
Sim-in-a-Box Complete Simulator Kit
- Higher-end launch monitor paired with a full simulator setup and GC3 launch monitor
- Includes enclosure and mat designed for frequent use
- Built for golfers who want stronger data accuracy and a more polished experience
Accessories and extras to consider
As you build your simulator, you’ll quickly realize that the launch monitor, enclosure and projector are the main pieces. Accessories aren’t required but many golfers add a few over time to improve safety, usability and day-to-day convenience.
Here are some common extras that show up in many home simulator setups.
- Protective padding or baffles to reduce rebound and protect walls, frames or ceilings
- Simulator-specific golf balls designed to work better with certain launch monitors
- Ball trays or return systems to keep practice flowing without constant bending
- Projector mounts or enclosures to protect equipment and organize the setup
- Laptop or device stands for easier access to software and settings
- Club holders or storage solutions to keep the hitting area organized
- Lighting control to reduce glare and improve screen visibility
- Dedicated simulator computers for smoother graphics and faster performance
None of these is essentials on Day One. Most golfers add them gradually as they spend more time with their simulator.

Still not sure which route to take?
If you’re unsure whether to build your own setup or choose a bundle, that’s understandable. There are a lot of options and the right choice depends on your space, budget and how you plan to use your simulator.
PGA TOUR Superstore offers a short simulator quiz that helps narrow things down by asking a few basic questions and pointing you toward setups that make sense for your situation.
It’s a helpful starting point if you want guidance without digging into every detail.
You can find it here: Golf Simulator Quiz
The post The Ultimate Golf Simulator Guide: Everything You Need To Know Before Building One At Home appeared first on MyGolfSpy.