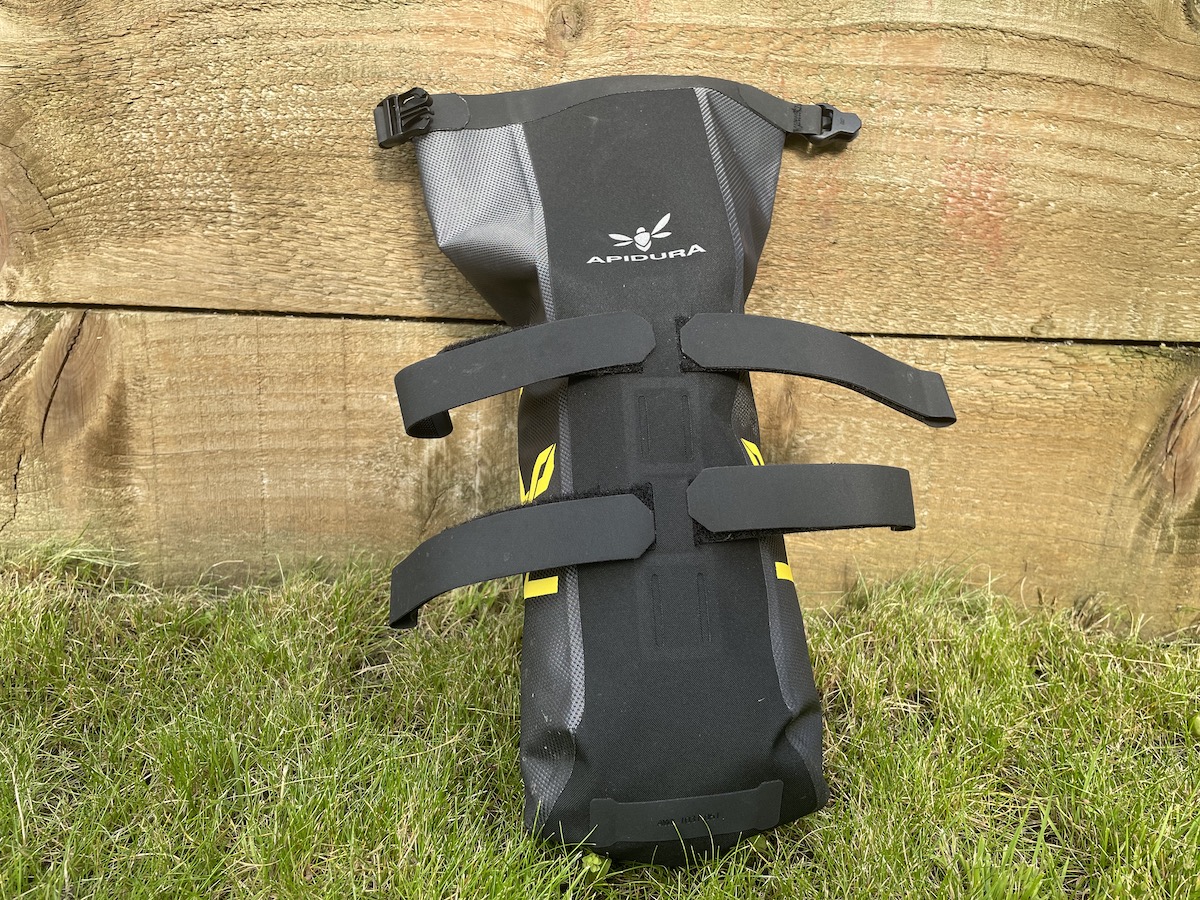
The simple design of a roll top bag is one of the most reliable ways of keeping your kit dry, which is why they’re a common site on the decks of dive boats the world over. Apidura have used this roll closure design for their fork bags, saddle pack and their bar bag too.
With just one hole at the top of the bag that is sealed by rolling the top over on itself before clipping it together with a quick release buckle, there is no way for water from above or below to get in.
Attaching the straps
Each bag comes with two, two foot velcro straps. Loop these through any two of the four hoops on the front of the bag – depending on what you’re attaching it too – and you’re ready to attach the bag to your bike. The straps are thick, non stretchy and the velcro is very strong.
Two velcro straps slot through the loops to secure the bag.
(Image credit: Future)
Packing and fastening
With a bit of careful folding and then stuffing of kit down as far as it will go, you can fit a surprising amount into a 3L bag. I comfortably got a whole set of kit in one, that’s bib shorts, undervest, short sleeve jersey, socks, gilet and armwarmers; and there was plenty of room to spare. I’ve also packed a lightwieight down jacket into one, and on another occassion a few tins of food. Although I’d recommend carrying lighter items (ie clothing) at the front so as not to make steering too heavy.
One advantage of a roll top bag is that you can keep rolling the top over to compact it down as much as you need. The upper velcro fastening is the only limiter here.
Bags like this do benefit from being stuffed full as this is how they keep their shape and sit snuggly in the cage. If you loosely shove stuff in and don’t make an effort to fill all the gaps the bag will sag, it will be harder to properly secure the straps and it
won’t sit squarely on the base of the cage. It won’t go anywhere, as the velcro straps will hold it in place, but it is better to fill it. A good reason to pack in an extra top and pair of socks, perhaps.
Be sure to squeeze as much air out of the bag as possible before rolling it down. Once you have, bring the buckle together and fasten. I looped the fastening buckles over the top of the bag, although Apidura’s website shows the buckle brought around the front of the bag. This method does give it a lower profile (if you’re worried about the bottom of your handlebars catching them) but both methods make for secure and waterproof fastening.
When packing, remember a top loading bag means you’ll want to put the things you’re most likely to need right at the top. So pack things in order with the items you’re least likely to need at the bottom.

(Image credit: Future)
Attaching to the bike
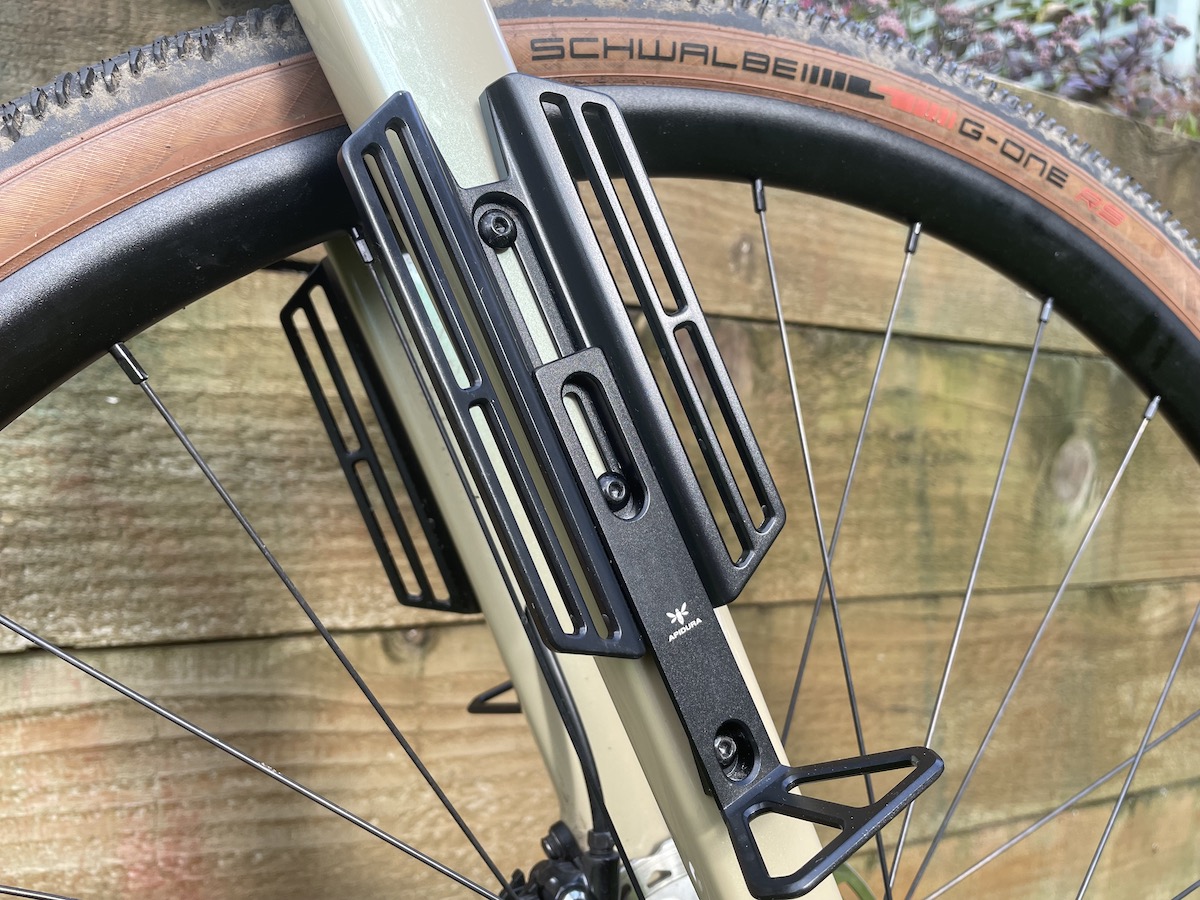
We tested the £46 fork pack with a £40 Apidura cargo cage that fits securely to the fork arm with a two or three bolt system. Made of two sections the cage extends by 42mm to accommodate either fixing.
Sit the bag on the small shelf and then loop the velcro straps through the slots in the cage, pull back round and fasten. It’s simple and very secure, although the bottom of the bag isn’t flat and so doesn’t sit perfectly on the cage’s shelf. A flat bottom to the bag and even a loop or strap to secure it to the shelf would hold the system in place a little better.
There is a loop at the bottom of the bag, but it’s not positioned to to hook over the shelf and instead looks designed to hold a small light.

Apidura’s Cargo cage fixes to either a two or three bolt system
(Image credit: Future)
These bags aren’t cheap, but they’re rugged and well made and will keep their contents dry in all weathers. Just make sure you pack them out as much as you can as they don’t hold their shape if partially empty and are then likely to dangle off the cage, although there is no risk of them slipping off.
