
Most golfers try to fix a slice by changing their swing. But one of the biggest slice triggers happens before the club ever moves in the way your trail elbow is positioned at setup. In a recent video, instructor Harry Shaw demonstrates how trail elbow orientation can completely change the ball flight, even when the swing itself stays identical.
If your trail elbow faces the wrong direction, you’re locked into a pattern that forces the club off plane, opens the face and creates a slice ball flight. Set it correctly and suddenly the club can move on plane, square up naturally and produce straighter tee shots.
Here’s the mistake, how it hurts your swing and how to fix it.
The Mistake: Trail elbow facing out instead of down
In Shaw’s demonstration, he makes two swings with the same tempo and motion. One slices and the other is a straight shot; the only thing he changes is the elbow orientation at setup.
- Incorrect: Elbow pointing outward toward the camera (internal rotation)
- Correct: Elbow pointing down and slightly toward the body (external rotation)
When the elbow is pointed outward, the trail arm becomes restricted. The golfer can’t fold the arm naturally on the backswing which forces one of two compensations. The first is picking the club up steep, and the second is dragging it behind the body too flat.
Both patterns can lead to an outside-in path with an open face. When the elbow points down, the arm can fold correctly, the club sets on plane and the downswing can naturally shallow.
The Fix: Harry Shaw’s trail-arm setup routine
Shaw teaches a quick routine that resets the trail arm into the correct orientation every time. If you slice the ball, this can become part of your pre-shot routine to make sure you aren’t setting yourself up for disaster.
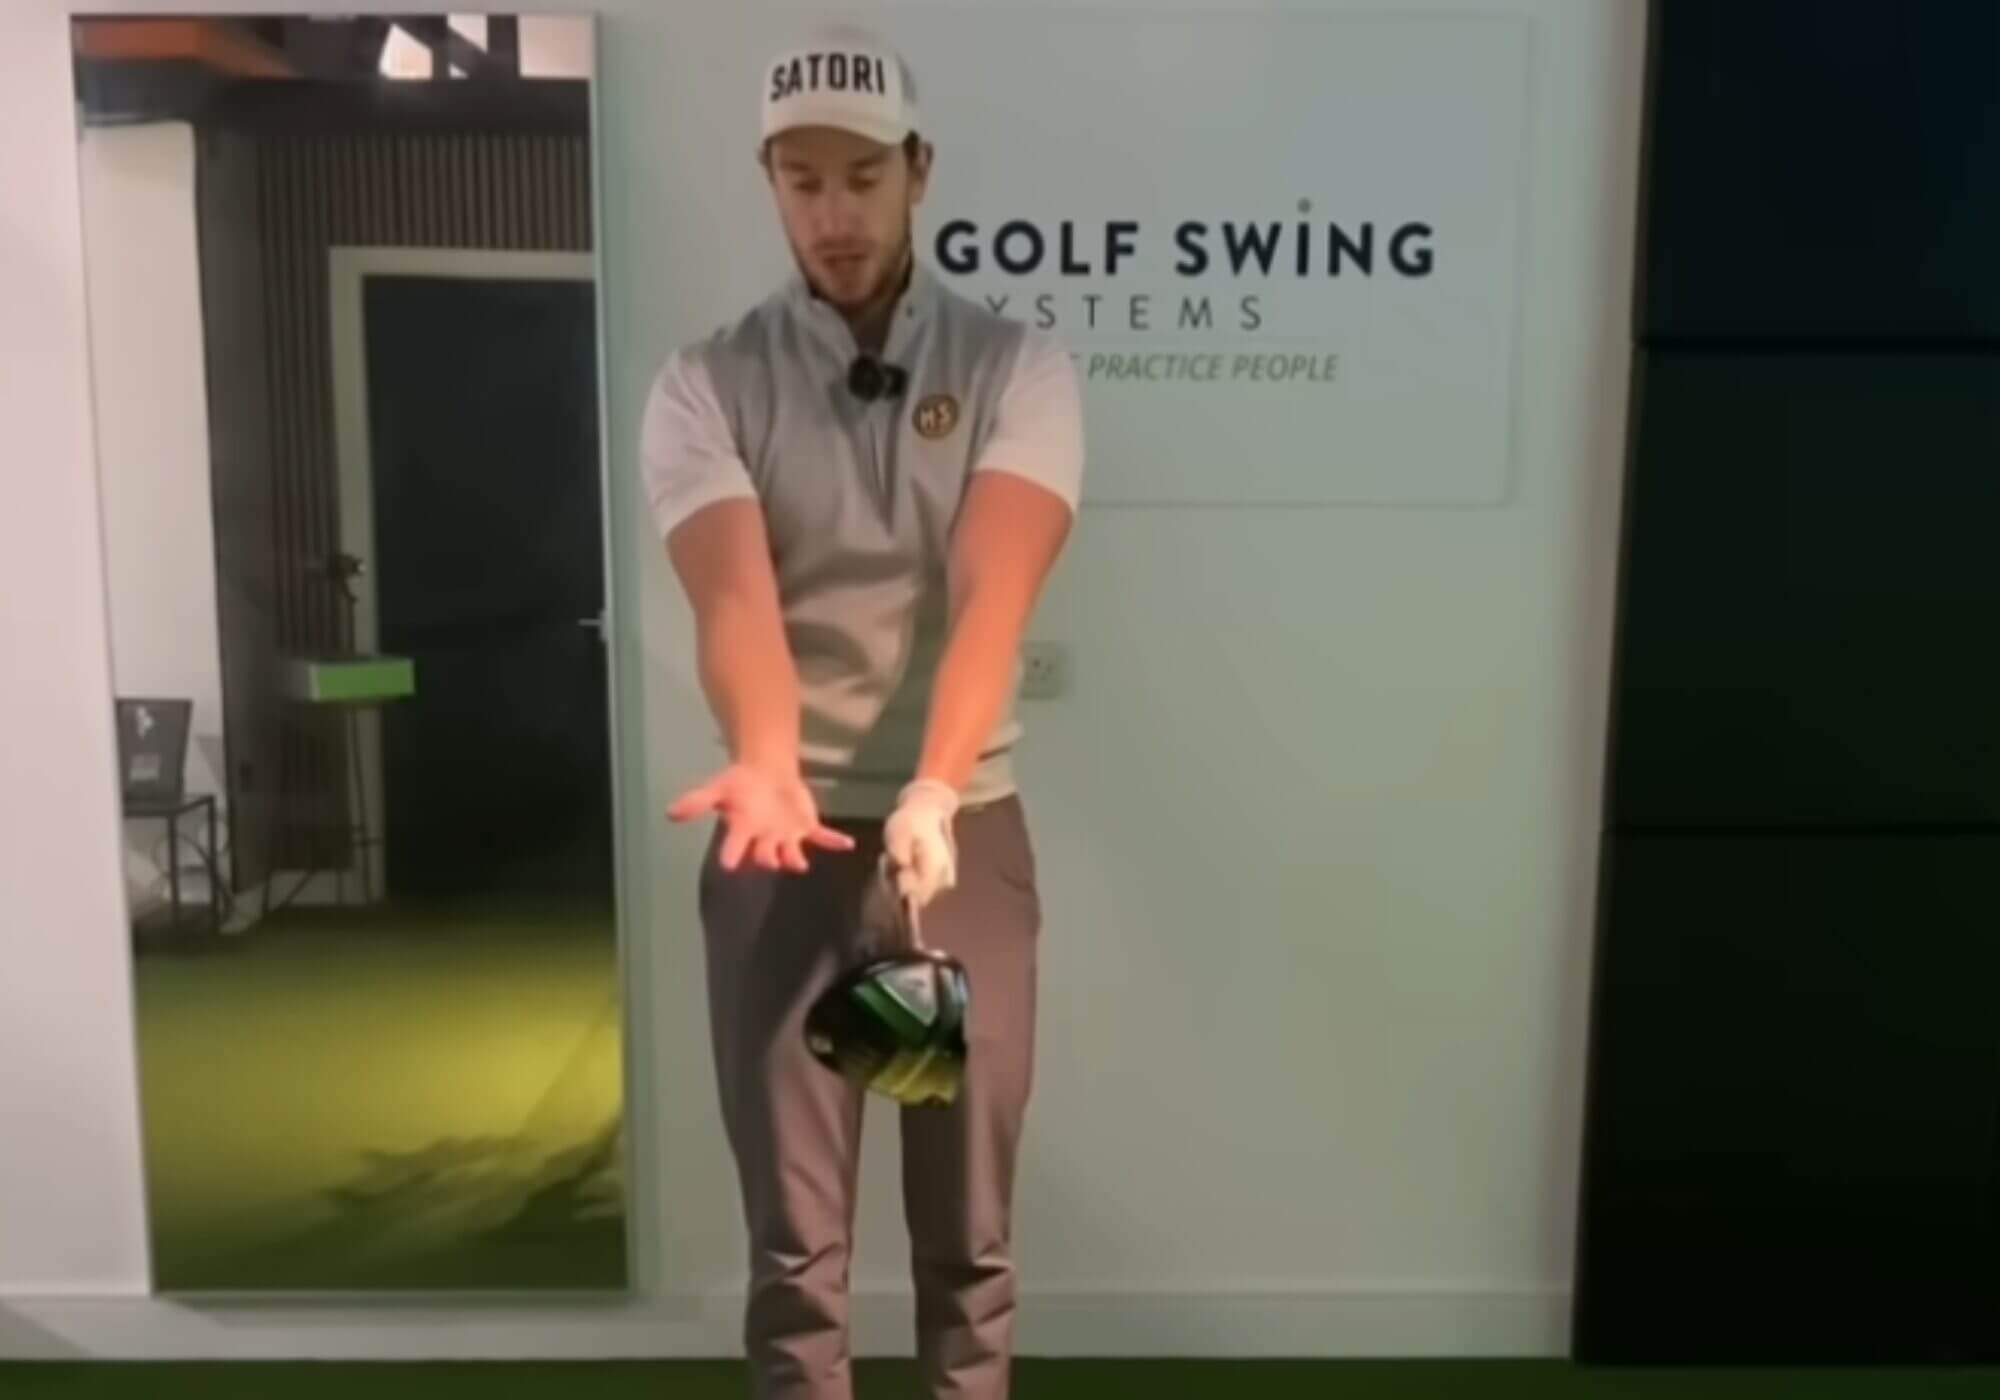
Step 1: Arm out front, palm down
Start by extending your trail arm straight out with the palm facing the ground. This is the incorrect internal-rotation position.
Step 2: Rotate the palm upward
Turn your hand until the palm faces the sky. This externally rotates the arm and automatically turns the elbow down toward the body.
Step 3: Grip the club without losing elbow position
Bring the club in, grip it normally and maintain:
- Elbow pointing down
- Light bend in the trail arm
- Arm staying in front of the ribcage, not flared to the side
Bonus drill: The towel connection fix
The towel connection drill is a common one in golf and it’s often done with a headcover instead. The drill works well here to maintain connection and the proper plane in the swing but it brings some more awareness to the elbow position.
How to do it
- Place a towel or headcover between your trail upper arm and your chest.
- Go through the elbow-rotation routine.
- Make small to full backswings while keeping the towel lightly pinned.
The drill promotes natural folding of the trail arm, better connection in the swing and a higher chance of a square clubface. You don’t need to squeeze the towel, just keep enough pressure so it stays in place.
Final thoughts
If your trail elbow is aimed outward, the club is already fighting against your body and your only options are compensations that leave the face open. With Shaw’s simple trail-arm routine, you can start the club in a position that supports better sequencing, easier shallowing and a far more predictable ball flight. It’s a small detail but an easy fix that can make a real difference.
The post The Trail Elbow Mistake That Makes You Slice (And How To Fix It) appeared first on MyGolfSpy.